Navigating Garden Issues: Yellowing Leaves in Plants
Every gardener, from novice to expert, cherishes the sight of a flourishing garden, where plants radiate health with their lush greenery. Yet, amidst this verdant tableau, the appearance of yellowing leaves in plants can disrupt the harmony, casting a shadow of concern. This phenomenon, known technically as “chlorosis,” is not merely an aesthetic issue—it’s often a distress signal indicating underlying challenges, from environmental factors to nutritional imbalances or even diseases. In the broader context of garden issues, understanding the causes behind yellowing leaves is pivotal. As we journey through this topic, we’ll uncover the multifaceted reasons for this discoloration and offer insights on restoring the vibrancy of affected plants.
Gnats
Garden Gnats: An Overview and Solutions
Garden gnats, often mistaken for tiny flying pests, are a common annoyance for many gardeners. While not directly harmful to plants, their larvae can feed on organic matter and, in some cases, plant roots.
Solutions:
- Let the Soil Dry: Overwatering is a prime cause for gnat infestations. Allow the soil’s top layer to dry out between watering sessions.
- Hydrogen Peroxide Solution: Mixing one part of 3% hydrogen peroxide with four parts water and watering your plants with this solution can help kill gnat larvae without harming your plants.
- Diatomaceous Earth: Sprinkle food-grade diatomaceous earth on the soil’s surface. This natural insect killer damages the exoskeleton of the gnats, leading to their eventual death.
- Yellow Sticky Traps: Place these near affected plants. Adult gnats are drawn to the color and will get stuck on these sticky surfaces.
- Beneficial Nematodes: These microscopic worms can be introduced to the soil where they naturally hunt down and kill gnat larvae.
- Neem Oil: This organic insecticide can deter garden gnats. Simply dilute it as per package instructions and spray on affected areas.
- Flying Insect Trap: For garden pests that find their way indoors, blue light plug-in devices offer an effective solution. These devices emit a UV light that attracts gnats and other small insects. Once drawn to the device, the pests get trapped on a sticky surface, preventing them from escaping. This provides an efficient and chemical-free method to manage indoor insect populations. It’s disgusting, but hey it works!


Yellowing Leaves
Yellowing Leaves in Plants: An Overview and Solutions
Yellow leaves, a common concern among plant enthusiasts, often indicate that a plant is experiencing stress. While it’s natural for older leaves to yellow and drop off over time, premature yellowing can be a sign of underlying issues related to water, light, nutrition, or disease.
Solutions:
- Watering Habits: Overwatering can lead to root rot which manifests as yellowing leaves. Conversely, underwatering can also cause leaves to yellow and drop. Check the soil’s moisture level before watering and adjust your routine accordingly.
- Proper Lighting: Too much direct sunlight can scorch plants, leading to yellow leaves. On the other hand, insufficient light can also cause yellowing. Ensure your plant is receiving the right amount of light based on its specific needs.
- Nutrient Balance: A deficiency in essential nutrients can cause leaves to yellow. Regularly fertilize plants with a balanced solution, ensuring they get the required nutrients.
- Check for Pests: Insects such as aphids, spider mites, and whiteflies can cause leaves to yellow. Regularly inspect your plants for pests and treat them if necessary.
- Examine Soil Quality: Poor soil drainage can lead to waterlogged roots, causing yellowing leaves. Ensure your potting mix is well-draining and repot if necessary.
- Environmental Stress: Plants can be sensitive to changes in their environment. Ensure they aren’t exposed to drafts, sudden temperature changes, or other environmental stressors.
- Disease Inspection: Diseases like fungal infections can lead to yellowing leaves. Isolate affected plants and treat them with the appropriate fungicides or remedies.
By understanding the cause of yellowing leaves and implementing these solutions, plant owners can promote healthier growth and extend the lifespan of their green companions.


How to Correct Girdled Roots and Address Yellowing Leaves in Plants
So, you’re getting the hang of this gardening thing, right? But sometimes, weird stuff happens that sounds super technical. Like “girdled roots.” Think of them as roots that grew in a circle, hugging (or more like strangling) the plant’s base. It’s like your plant put on a belt that’s too tight and never took it off. Over time, this can make your plant sick and less peppy.
Now, here’s what you can do to help your plant breathe a bit easier:
- Identification: If your plant’s growth has slowed or its leaves are turning yellow, or you see roots wrapping around the base, it might be wearing that tight belt I mentioned.
- Preparation: First, arm yourself! Grab some gloves, a small hand shovel or trowel, and a clean knife or pruning saw.
- Excavation: Now, play detective. Dig gently around the base of the plant until you see where the roots start to flare out and circle around.
- Cutting: This part’s a bit tricky. With your knife or pruning saw, carefully snip away the naughty, circling root. Be super careful not to hurt the main part of the plant or its good roots.
- Aftercare: Fill back the hole with some good dirt or compost. Give your plant a nice drink of water, like it’s had a long day.
- Monitor the Plant: Over the next weeks, play plant-doctor. Check if your plant looks happier and if there are signs of fresh growth.
- Prevention: Remember, when you plant next time, spread those roots out nicely to avoid this circle dance.
With these steps, you’re on your way to helping your plants live their best life, belt-free!
Signs of Overwatered Plants and Other Common Plant Health Issues
Understanding Overwatering: Signs and Solutions
It’s a common misconception that the more you water your plants, the better they’ll grow. However, overwatering is a prevalent problem that can harm your plants more than it benefits them. Here are some signs of overwatered plants and steps you can take to remedy the situation.
Signs of Overwatered Plants
The first step in resolving overwatering is identifying the problem. Common signs include yellowing leaves, wilting despite damp soil, brown leaf edges, and root rot. If you notice any of these signs, your plant may be getting too much water.
Solutions for Overwatered Plants
If you’ve identified that a plant has been overwatered, it’s essential to act quickly to save it. Here are some solutions:
1. Adjust Your Watering Schedule
It might seem obvious, but the first step is to reduce the frequency of watering. Give the soil a chance to dry out before you water again.
2. Improve Drainage
Ensure that your plant’s pot or garden bed has adequate drainage. This allows excess water to escape, preventing waterlogging and root rot. Consider using a high-quality potting mix that provides excellent drainage properties.
3. Replace the Soil
In extreme cases where root rot has set in, you may need to replace the soil. Remove the plant, gently wash away the old soil from the roots, and replant it in fresh, well-draining soil. I recommend using a premium organic potting mix to provide your plants with the best chance of recovery.
4. Consider Using a Plant Tonic
Consider using a plant tonic or conditioner that can help revive your plant. These products often contain beneficial bacteria that can help combat root rot and improve overall plant health.
The Importance of Deep Watering
Shallow watering, another common watering mistake, leads to shallow root development. This can cause your plants to be less drought-tolerant and more susceptible to toppling over. To avoid this, practice deep watering. Deep watering encourages plants to develop deep, robust root systems, making them healthier and more resilient. It involves watering less frequently but thoroughly, so water reaches the deeper soil layers.
Regrettably, I learned this the hard way with my silver sheen plant. Shallow watering led to its untimely demise. But I’ve taken that lesson to heart and ensured I practice deep watering consistently, leading to healthier and happier plants.
Girdled Roots: Causes and Solutions
Circling roots, often the result of overwatering, poor drainage, or compacted soil, can significantly affect a plant’s health.
Girdled Roots: An Unseen Plant Health Issue
Girdled roots are a common yet often overlooked problem in plant health. When roots grow in a circular or spiral pattern, they can encircle the trunk or other roots, causing a “girdling” effect. This constricts nutrient and water flow, which can ultimately stress or even kill the plant.
Girdled roots are usually the result of poor planting practices, such as not sufficiently breaking up the root ball when planting or growing plants in pots for too long without repotting. These conditions force the roots to grow in a circular pattern, causing the girdling issue as they continue to grow and expand.
How to Correct Girdled Roots
Correcting girdled roots can be challenging but is essential for the plant’s long-term health. Here’s a step-by-step guide on how to relieve the pressure from girdled roots:
1. Identification
First, you must identify whether your plant has a girdling root problem. Signs can include slower growth, yellowing leaves, wilting, or the presence of a visible root circling the trunk at the soil surface. In severe cases, the trunk might appear pinched or flattened on one side.
2. Excavation
Excavate the soil around the base of the plant to expose the root flare and the upper parts of the main roots. You can use a hand trowel or air spade for this task. Be careful not to damage the trunk or roots during this process.
3. Cutting Girdled Roots
Once you have identified the girdling root, use a sharp, clean pruning saw or knife to carefully cut and remove it. Make sure you do not damage the trunk or other roots. Also, if the girdled root is large and significantly fused with the trunk, it may be best to seek professional advice before proceeding.
4. Aftercare
Once the girdling root is removed, fill the excavated area with high-quality compost or topsoil. Water the plant thoroughly and monitor it closely for signs of stress. It may take some time for the plant to recover, so be patient and provide appropriate care.
5. Preventing Girdled Roots
The best treatment for girdled roots is prevention. When planting, ensure to properly spread out the roots and choose a pot or planting site that gives them ample space to grow. Also, remember to repot plants in a timely manner to prevent the roots from becoming pot-bound.
Keywords
Girdled roots, plant health issues, correcting girdled roots, identification, excavation, cutting girdled roots, aftercare, preventing girdled roots, compost, topsoil, planting practices.
Fungus Gnats: A Common Result of Overwatering
Overwatering your plants can create an ideal environment for pests, particularly fungus gnats. Fungus gnats are small, black flies that lay their eggs in damp soil. When these eggs hatch, the larvae feed on plant roots, causing significant damage.
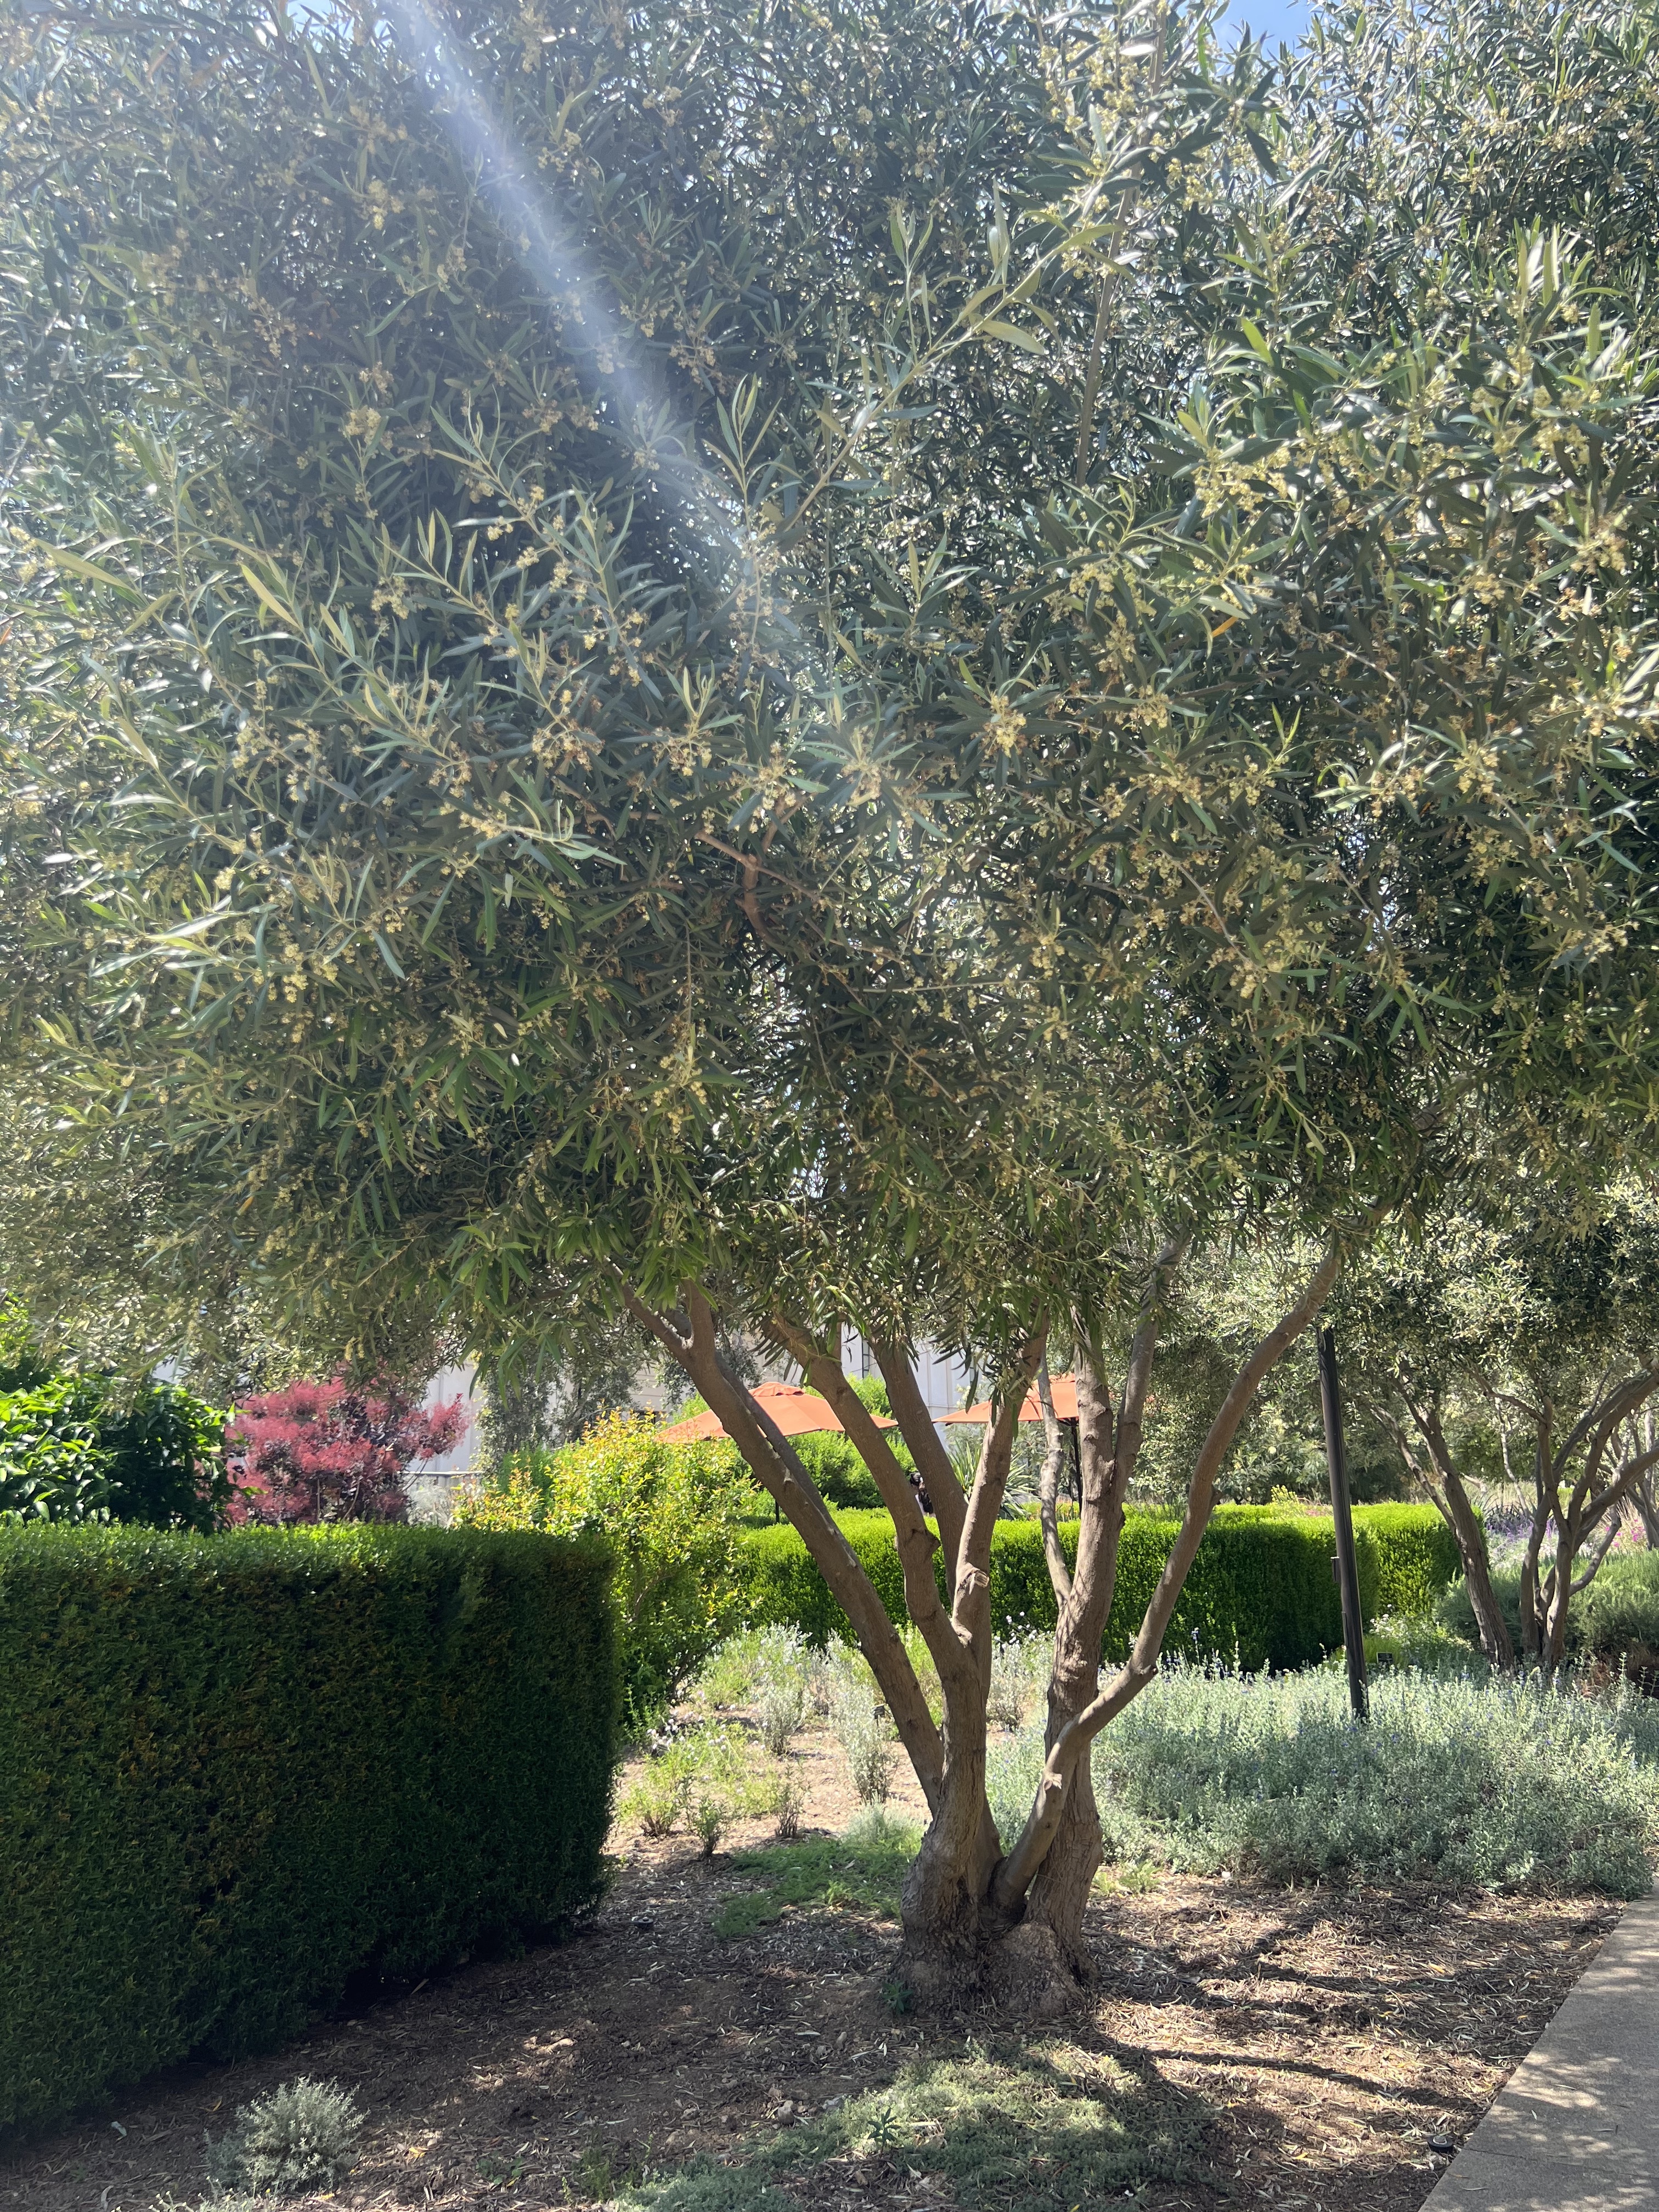
I’ve experienced this firsthand with one of my olive trees. The overwatering created a damp environment that attracted these pesky flies. Thankfully, there are effective solutions to this problem.
How to Deal with Fungus Gnats
If you notice small flies buzzin
Conclusion
Understanding the signs of overwatered plants and other common plant health issues is crucial for maintaining a thriving garden. By adjusting your watering practices and keeping an eye out for signs of trouble, you can prevent these issues before they become severe. Remember, healthy plants require attention, care, and the right balance of resources. And don’t forget, less is often more when it comes to watering!
Keywords
Signs of overwatered plants, common plant health issues, overwatering solutions, deep watering, curdled roots, fungus gnats, gnat catchers, watering schedule, soil replacement, plant tonic, premium organic potting mix.


Leave a Reply